At WiseGEEK, we're committed to delivering accurate, trustworthy information. Our expert-authored content is rigorously fact-checked and sourced from credible authorities. Discover how we uphold the highest standards in providing you with reliable knowledge.
How do I Install Mini-Blinds?
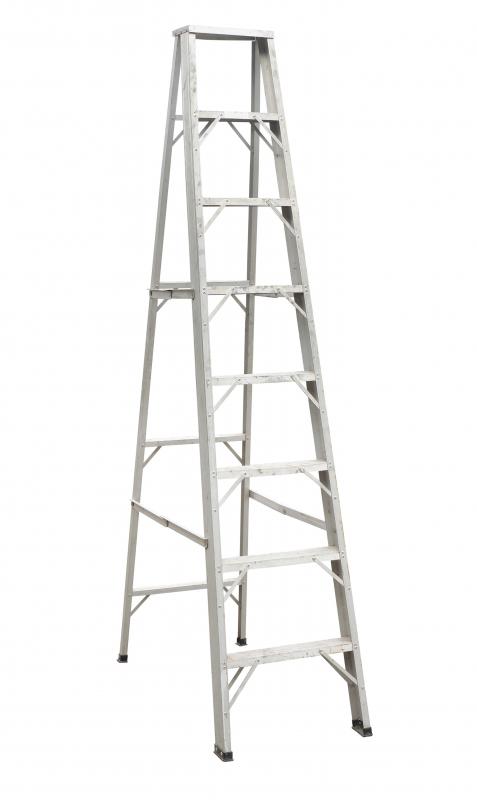
Installing mini-blinds requires only a few tools and about 20 minutes of installation time per window covering. The tools needed typically include a measuring tape, screwdriver, and a small level. A stepladder and power drill may also be needed.
Mini-blinds often come packaged with hardware to hold it in place. This hardware must first be attached to the window frame before the actual mini-blinds can be installed. An outside mount is one of the more common installation techniques. The word outside refers to the brackets being placed or mounted outside of the inner window frame.

Outside installation generally begins with marking the window frame where the brackets will be installed to support the mini-blind. Using the level, hold the mini-blind in place just below the edge of the upper window sill. When the blind is level, mark the ends where the brackets will be screwed into the window frame.
Using the measuring tape, make sure the mini-blind will be centered on both the right and left side of the frame by measuring the width of the window, and subtracting the length of the mini-blind. The leftover window width can be divided by two. These numbers represent how far the ends of the mini-blinds should fall on each side of the window.

Place the brackets, positioning their outer edges flush with the marks you placed on the window frame. An awl, or hole starter, may be needed to create small indentations for the screws in the wood. Using the drill, install the right and left brackets, without tightening the screws completely. After both brackets are installed this way, test the brackets by inserting the mini-blind in them. Adjust the brackets as needed, and screw into place.

For longer mini-blinds, support brackets may be needed to keep the blinds from bowing in the middle due to their weight. This support bracket can be installed in the same manner as the end brackets, using the awl and power drill. Installing mini-blinds inside a window frame can be completed with the same installation instructions. The only change will be in the width of the mini-blinds.
Window coverings, valances, and curtain rods can also be installed for use with the mini-blind. If outer installation was used, the hardware for decorative window coverings may need to be installed on the wall rather than the window frame. Anchors may be needed to prevent decorative hardware from slipping out of drywall holes due to the weight of the window coverings.
AS FEATURED ON:
AS FEATURED ON:


Discuss this Article
Post your comments